Evolve

Girl with the Yellow Umbrella, Artist Laura Lee Moreland

It has been some time since I published anything here. This is because I am no longer living in my tiny house. Due to this, I felt it was dishonest of me to write as though I were.

Bella In and Out – Artist Laura Lee Moreland

Some of you may have noticed that I shut down the associated Facebook page about a year and a half ago when I was making the transition. This was because I was getting a lot of nonsense there from people who thought I was running a business or owed them information because of their misconception that blogging and living in a self built tiny house makes me a business. With around 80,000 followers there, it was a full time (not for pay) job, which was increasingly stress inducing, and really – to be completely honest – not part of my life objectives. I don’t want to give the impression that this was all unhappy! There are so many lovely people who I have come in contact here, and on my Facebook page. Still, there are trolls and goodness knows we don’t need those in our lives taking up our oxygen. So, those few nasty jerks pushed me (ironically) in the direction I wanted to be going, thanks for that!!

The Dancer, Artist Laura Lee Moreland

Fishy – Artist Laura Lee Moreland

So, here I am, a full time artist now, which was my evolvement plan – despite my housing situation. Extreme housing costs put this off for me for a long time now BUT, I had already moved in with my spouse to a small house (a little over 900 square feet) in Guelph Ontario. Here, I continue to concentrate on painting and (if Covid gets stopped) teaching in my home Atelier.

The Mathematician, Artist Laura Lee Moreland

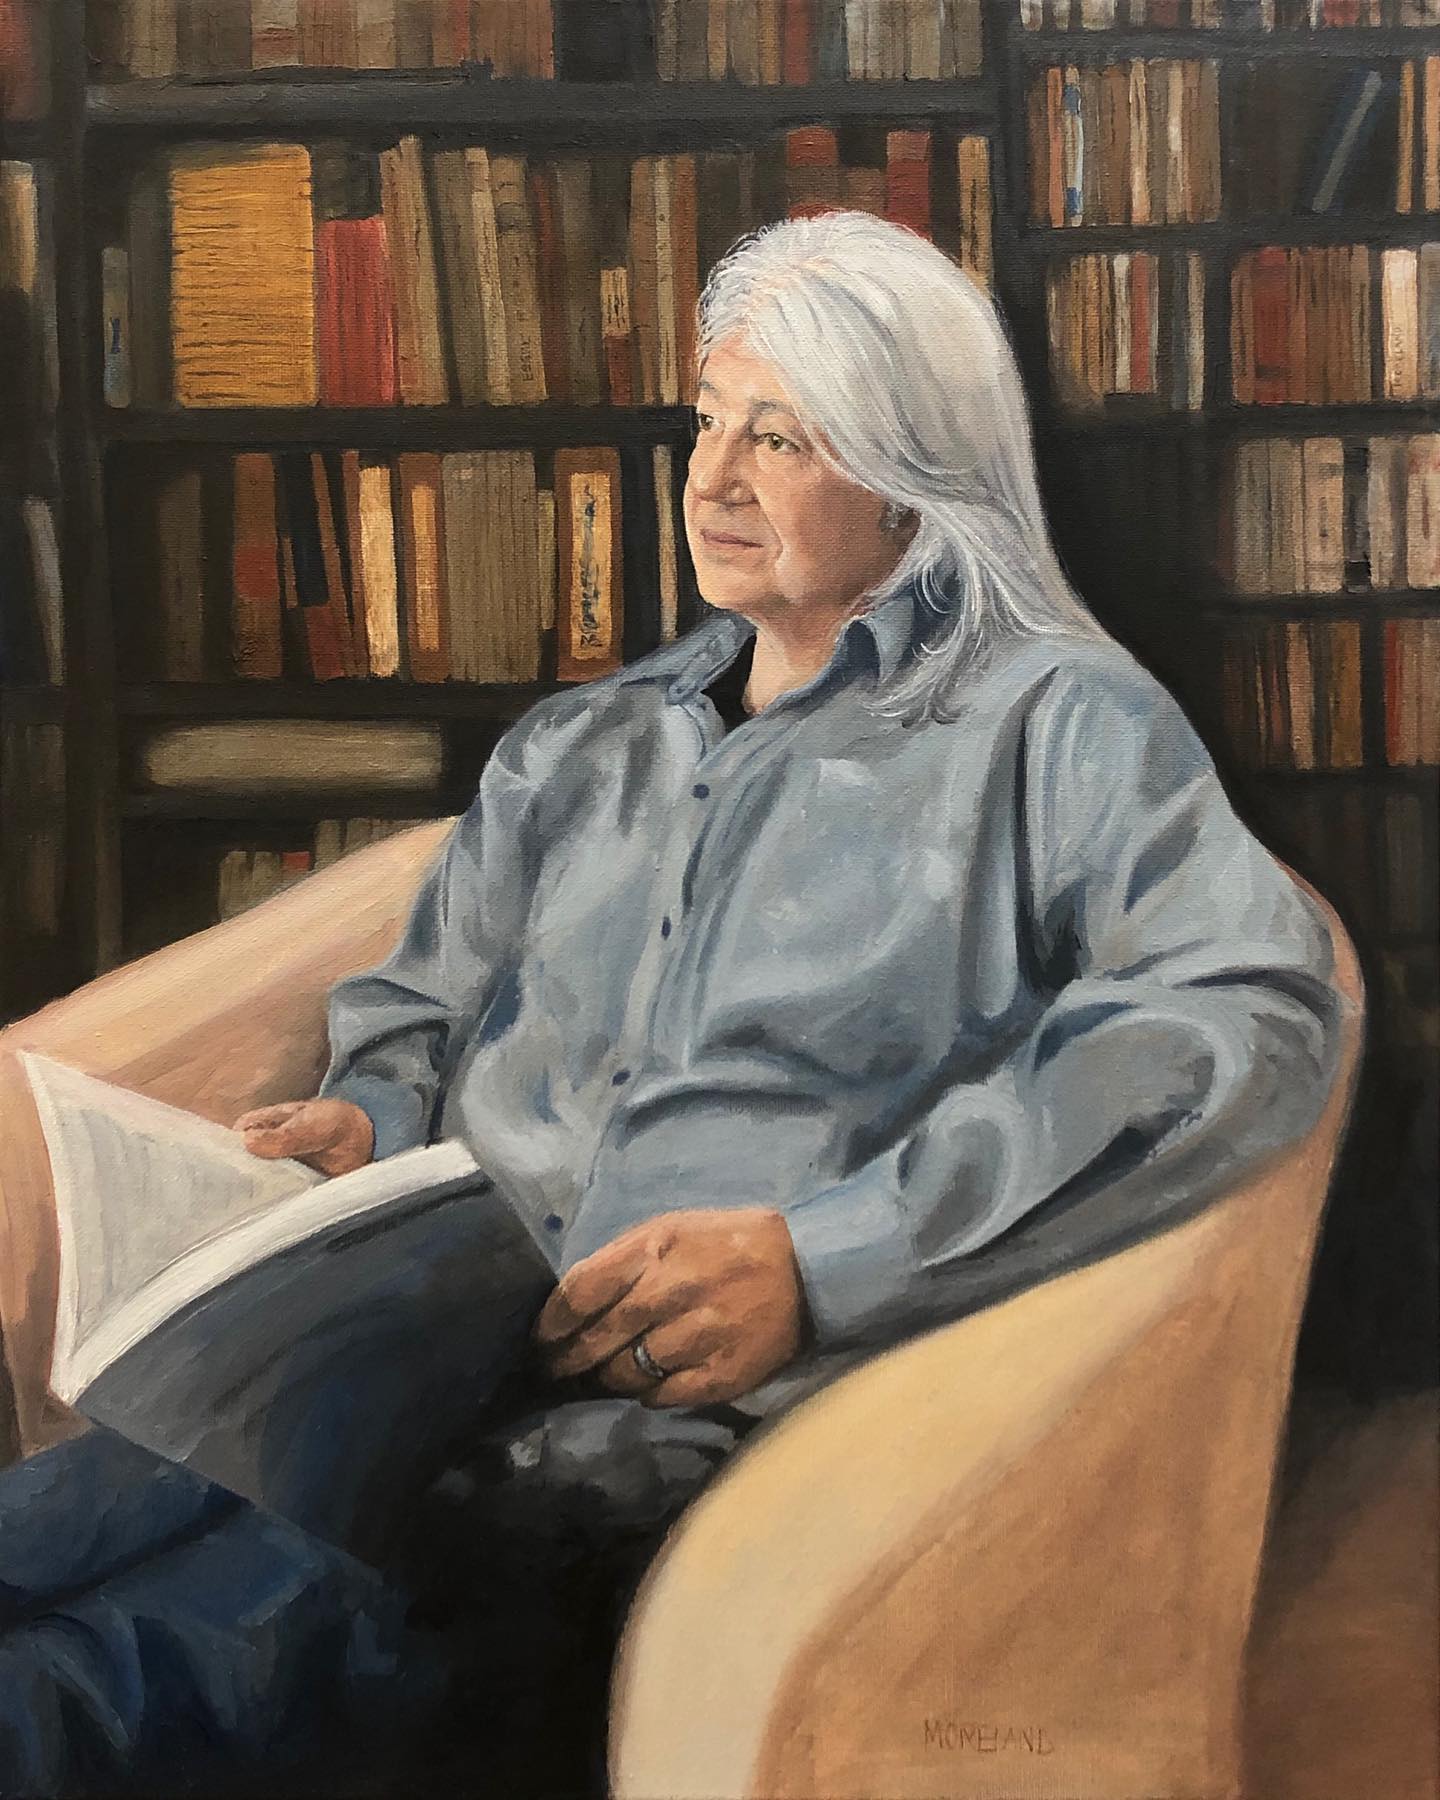
As you see, I have attached a couple of examples of my work; if you are interested in seeing my evolvement, you can find me here:

https://www.instagram.com/atelieroflauraleemoreland/

https://www.facebook.com/AtelierofLauraLeeMoreland

https://atelieroflauraleemoreland.com

I wish to thank all of the readers I have had over these last ten years. I wish all of you well and hope for a better year in 2021.

Follow your dreams

❤ Laura

Malala, Artist Laura Lee Moreland

Categories: Tiny House Ontario | 7 Comments

ATTENTION: LENNOX & ADDINGTON and CITY OF KINGSTON!!!

I can’t help but sing, The times they are a changin’.  Feel free to play this in the background while you read along.


Alicia wrote to me (thank you) to let me know that she found this gem while looking around the Stone Mills Township website.  It is absolutely awesome news for those who own property in Lennox and Addington.

Not only are you able to build a secondary dwelling on your property that you can rent out, but it looks like for the time being you can apply for a $20,000 grant to help with the costs.

While looking all of this up to be sure that it was accurate, I also found out that the City of Kingston has also opened up for secondary dwellings!  And they too have a grant program for home owners!!!

When I posted this, my co-Admin Lulu (awesome thanks!)  let me know that Simcoe County is also allowing secondary units and the have a $25,000 grant available as well!

Since Canadians are not accustomed to having secondary dwellings, I will share some options – my suggestions would be to match the style of your house so that the smaller house fits your neighbourhood.  Fence off a small section of your yard or property  and put in a separate driveway, so that that the neighbouring house is clearly seperate from your own.  If you are in town, corner lots are ideal for this.  If you are rural it is just a matter of finding a place on your land which is most comfortable to separate.

  • You can build yourself and rent out the secondary dwelling.  (requires personal investment)
  • You can look for someone who wants to build a tiny house and have a land lease drawn up.  I would suggest something like a 50-100 year transferable lease with the homeowners having the first option to buy.   (requires very little personal investment)

I am SO HAPPY that these options are finally opening up!


27662045_10156111438064486_735441881_n


Categories: Tiny House Ontario | 6 Comments

Cloth Porch Closure

Every year Hj and I close the cloth porch at the end of fall.  This year is no exception to the rule, though we did find it difficult to do it this year because of the rain!  As my friend Colleen points out, we girls with curly hair could expand so much that we will take flight if the wind hits us!  HA!

The problem with the rain though is that I don’t want to capture water in the porch before I close it up tight, because it is then difficult to get rid of the dampness, and it turns into a sort of green house.  YUCK!

22852965_10156041708445942_7397214507680119527_n-1

Photo stolen from Colleen Murphy (who is not the only one with Moxie)

Though it does not look like a big deal, every year the job of closing up the porch is massive!  Up and down the ladder getting everything perfect and closed so that the tarps do not billow, takes some head work as well at time.  It is not a physically difficult job with the exception of moving and climbing up and down the ladder; just annoying.

So when Hj and I were fixing the porch this year, I was also executing a plan to use a new system for this as well.

What I wanted is a UV protected (to keep algae from growing), clear, reinforced, cover that can can be easily rolled up in the spring and then rolled down in the fall.  For this I needed to purchase some items:

3x clear polyethylene 10×12 tarps @ $15.99 each =$32

1x box of 3 1/2 coated screws @ $9.99 = $10

10x 8 foot long 2×2 pressure treated boards @4.43 =$45

2x 12 foot long 2×2 pressure treated boards @ 2.00 (heavily discounted) =4

60x large heavy duty washers (already had these)

50 feet of nylon rope @$3.38 = $4

1x clear tarp tape @10.  = $10

TOTAL $105.

22894517_10159559109365611_4067553159217773791_n

Should any of you also be considering closing your porch I will share my method.  Over the door, I simply removed the panel that has the cloth in it and covered it with tarp, then Hj put it back in place.  This was done with the remnant of the side tarps that had to be cut to size folded at the edge and taped using special UV and weather resistant tarp tape.

Once they were cut to fit over the existing boards (longer at the bottom and top, they were rolled onto the new 2×2 header boards and stapled on.  Then the header board was screwed in place, paying attention to put the nylon ropes up that will tie them in place in the warm months.

After the header board and ropes are up then a base board is attached to the bottom being careful to roll this up on the OUTSIDE so that the tarp is against the wall tight, the bottom is then stapled on and rolled up then secured with large washers and screws when the tarp is both: tight against the wall, AND down all the way to the bottom board.

After the top and bottom are done, it is just a matter of cutting the 2×2’s to the right size for vertical edges, then use a screw with a large washer to secure these down.  The washers are to keep the screws from going in too far and to create a larger surface tension to hold the boards so that the tarps will stay.  We also put the screws through the grommets where these were available to us.

22894450_10159559108800611_4017658090687396688_n

In the spring, the vertical boards will be removed and numbered… and the tarps will be rolled up tight against the roofline.

Next fall, they will simply be unrolled and screwed down again at the bottom, and the side boards will be put back in place.  I estimate that opening and closing the porch now will be a half hour job instead of a two day ordeal.

With the cloth of the porch and the reinforcement lines of the tarps the porch is not really clear enough to see through (unfortunately); however, the porch is bright and wind free. In the sunny days it will be really warm out there as well.  We don’t heat the cloth porch, but use it for cooking, and doing dishes year around.  We also store our snow shoes there and use the  room to take off our boots and winter clothing.  It is a sort of “mud” room in the winter.

23031656_10159559112965611_5871302300790263993_n


The only unfortunate thing is that I did not think of making roll up tarps much sooner!


Categories: Tiny House Ontario | Tags: , , , , , , , , , , , , , | Leave a comment

The Path

For a long time I have been wanting to make a path through the ten acres of woods at Tiny House Ontario.  Nothing drastic, just a two foot wide clearing around the high land so that we can walk through without being mauled by the prickly ash we have on this land.  After all these years my cousin Kenny (who often helps me with the land here) came up with a brilliant solution.  Now, I am not suggesting that you do this.  Kenny is an expert woodsman with thirty years of experience in handling tools and therefore, knows what he can and cannot do to be safe, and was cautious with this tool of his.  He attached a circular saw blade to his large, long, gas powered edger and in 45 minutes he made a path all around the place.  He did not cut anything that was bigger than a finger width around, just prickly ash and a few random seedings.  Now you can walk the upper five acres without a bit of pause!

I tied markers along the path so that we can find the way and keep it up.

I thought you all might like to see what this looks like in the forest now.  We can wander the entire round of the land pretty quickly now, but who would want to.  Wandering is best done slow and mindfully so you can see the woodpeckers, owls and salamanders.

Don’t you agree?


Categories: Tiny House Ontario | 7 Comments

The Cloth Porch Revamp

The cloth porch was looking really super rough!  The cheap fabric that I put on there a few years ago speed installed without any thought of how it would look because we thought it would only last a year and that it would just be a job we had to do over and over again.  BUT… it lasted seven years!

IMG_2723

The one wall that was not torn was seriously stained and grotty looking… and lets be frank here… because it was not ever installed right it simply looked like crap.

IMG_2730
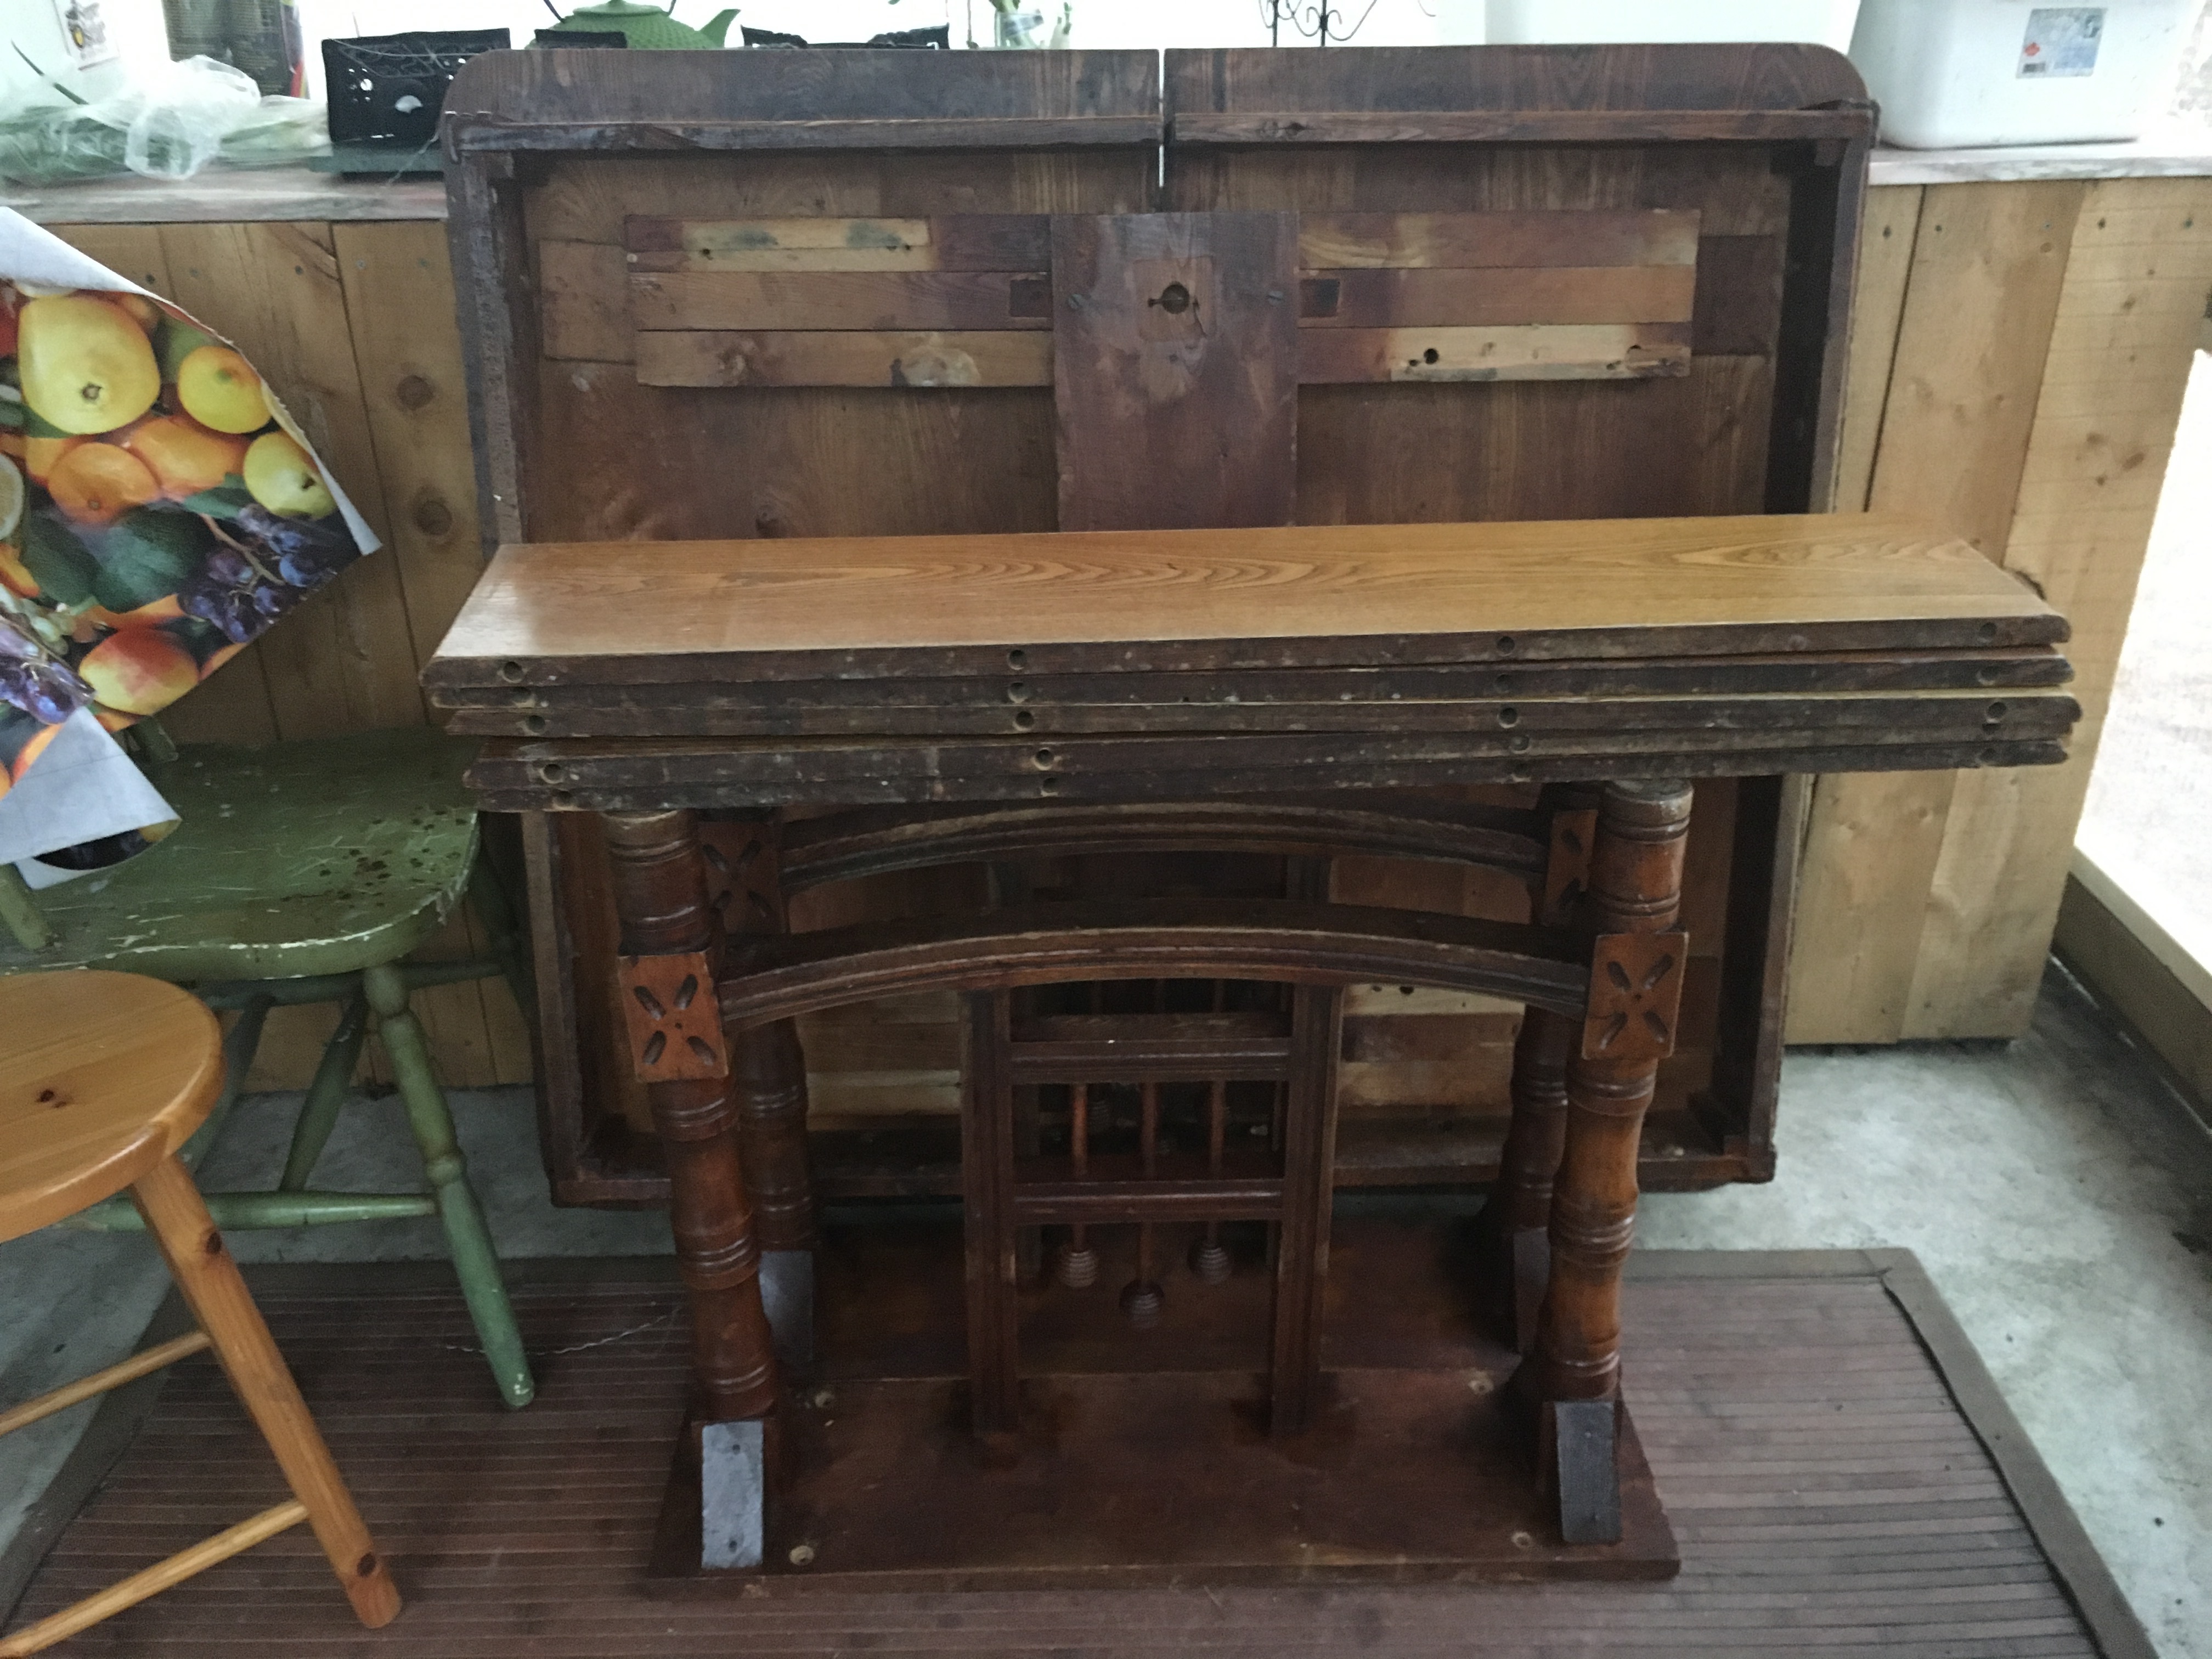
The other problem was that I had my 3 x great grandparents MASSIVE 12 person oak table in the porch so it was tough to move around.  Thankfully my cousin Albert took it and will refinish it, so I was able to free up some space in there!

IMG_2762

So H and I started building panels and stretching outdoor fabric on them, in much the same way that I stretch canvases for painting on.  Build a square and start, stretching and stapling.  All the old fabric had to be removed and many staples had to be pulled out.  Then, one after another up each of these stretched sections went in.  I went with a mix of plain and floral fabric because I used remnants that were on half price (of course) and I thought it would look interesting to have it divided anyway.

IMG_2824

So from the outside you can see through it a little bit more but it also looks nicer and matches THO better, I think.

IMG_2821

From the front, you can hardly see the porch now because it really blends into the background.

IMG_2820 (1)

The new tiny table that I bought for $40 in a second hand store is certainly more size appropriate!  The bench we build last year and the tiny chairs I took out of the dumpster.    Anyway, it feels so much nicer in the porch for sure!  The project has not yet been finished.   When it is done I will post more about it, including the cost of the project.

What is not done yet:

The back wall.  This will be done in the same fashion but have opaque fabric (because this side faces the out-house).

The roof. This leaks (not surprising since it is made of fabric and a tarp).  I hope to finally cover it.

The cushions.  For the corner bench.  I hope to get these sewn up this week.

The door.  The one I have has finished its life cycle and I have found all of the wooden doors are equally crappy in construction.   I am wondering if anyone has one of the composite doors?  I am thinking of replacing mine with one of these… but if I am going to use that much plastic stuff I want it to last.  Looking for opinions here.


IMG_2799

Categories: Tiny House Ontario | 4 Comments